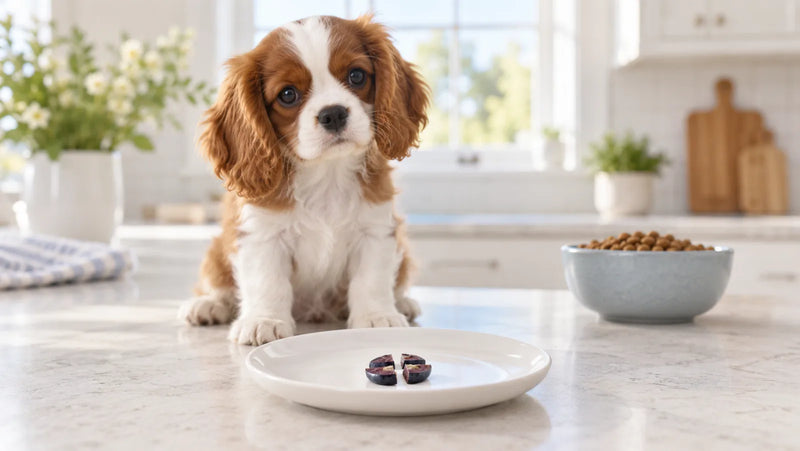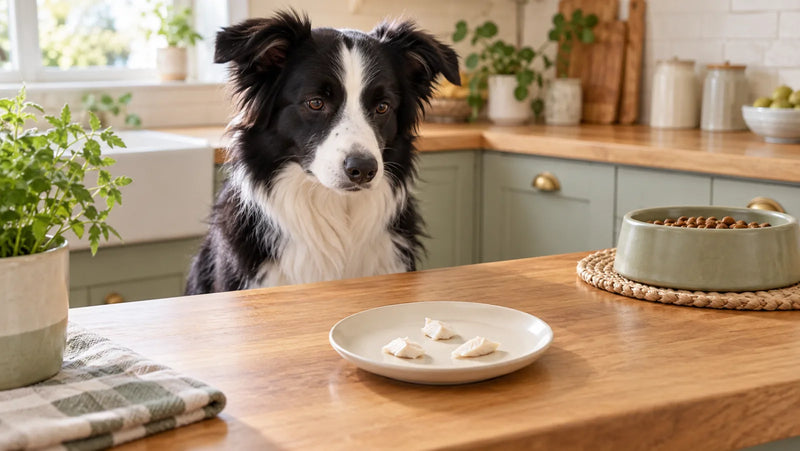

Dehydrator dog treats can be made from plain chicken breast, beef liver, chicken hearts, boneless fish, pumpkin, and other dog-appropriate foods, but drying is not the same as cooking. A cautious home workflow uses a verified heat step for animal ingredients, even pieces in a single layer, a cooled doneness test, and conservative cold storage.
For one simple rule across a mixed DIY notebook, heat every meat, organ, poultry, or fish batch to an internal temperature of 165°F before the drying stage. Check a representative thick piece with a food thermometer. Then transfer the heated pieces with clean utensils to a clean, preheated dehydrator and dry them fully. Because home equipment and recipes are not shelf-life validated, refrigerate or freeze finished animal-based treats rather than assuming they are pantry-stable.
Dehydrator Dog Treats: The Safe Workflow at a Glance
- Choose one plain ingredient. Start with a food that fits the dog's normal diet and health plan.
- Clean and separate. Keep raw animal food away from vegetables, finished treats, bowls, and the dog.
- Cut evenly. Make pieces similar in thickness so the slowest piece does not stay moist while thin edges become brittle.
- Apply the heat gate. Bring animal-based pieces to 165°F internally and verify with a food thermometer.
- Dry in one layer. Use clean trays, leave airflow around every piece, and follow the appliance instructions.
- Cool, test, and store. Judge the thickest cooled piece, then package only fully cooled treats in small dated batches.
Temperature, drying time, and final dryness answer different questions. Internal temperature tells you whether the heat step reached the test piece. Time describes only how long one load ran under one set of conditions. A cooled doneness test helps reveal moisture that the clock and warm surface cannot.
Heat First, Then Dry
A dehydrator removes moisture with warm moving air. That can create a chewy or crisp treat, but the temperature on the dial is air temperature—not proof that the coldest center of every piece reached a pathogen-reducing temperature.
The FDA's safe-food-handling guide says a food thermometer is the way to verify safe internal temperature and lists 165°F for poultry. The National Center for Home Food Preservation's jerky guidance likewise separates safe raw-meat handling and a microorganism-reducing heat step from the later drying job.
This guide uses 165°F as a deliberately conservative house rule for every animal-based dog-treat batch so a home cook does not have to switch standards among chicken, hearts, liver, and fish. That is stricter than some general human-food minimums for non-poultry foods; it is not a claim that FDA assigns 165°F to every meat or fish category.
Use an oven, steamer, or another controlled cooking step that can bring the center of a representative thick piece to 165°F. Arrange all pieces no thicker than that test piece, avoid crowding, and verify rather than judging by color. Move the cooked pieces to clean dehydrator trays with clean utensils. Do not put cooked food back on the plate or board that held it raw.
Ingredient Comparison: Chicken, Liver, Hearts, Fish & Pumpkin
| Ingredient | Preparation before drying | Heat gate | Cooled finish cue | Main caution |
|---|---|---|---|---|
| Chicken breast | Remove visible fat; cut uniform strips | 165°F internally | Dry through the center; bends and cracks without a wet pocket | Do not assume the dehydrator alone supplied the kill step |
| Beef liver | Partially chill for cleaner slicing; cut evenly | 165°F under this conservative workflow | Leathery or brittle by design, but never cool-wet or tacky inside | Rich organ treats need especially small portions |
| Chicken hearts | Trim as needed; butterfly or slice thick hearts evenly | 165°F internally | Firm and dry at the thickest center, with no soft moist core | Whole hearts can hide moisture and dry unevenly |
| Boneless fish | Use an identified fillet; remove every pin bone; cut uniformly | 165°F under this conservative workflow | Dry and firm or flaky throughout, never translucent or moist | Residual bones, fat, odor change, and rancidity |
| Plain pumpkin | Use cooked plain flesh or puree; spread thinly on an approved solid liner | No raw-animal heat gate | Leathery or crisp as intended, with no tacky wet patch | No pie filling, sugar, spice, butter, onion, garlic, or salt |
Sweet potato is another common dehydrator ingredient with its own peeling, slicing, and drying routine; it is not one of the five foods compared above.
Chicken breast
Chicken is popular because lean uniform strips can dry predictably. For trimming, slicing, heat treatment, tray loading, and storage, use the homemade chicken jerky recipe for dogs. The separate chicken-jerky drying-time guide explains why thickness, load, airflow, appliance accuracy, and room conditions make a single promised hour count unreliable.
Beef liver and chicken hearts
Liver is slippery when warm, so partial chilling can make uniform slicing easier. It may finish brittle, leathery, or somewhere between depending on thickness and dryness. Texture preference never excuses a damp center. Liver is also nutrient-dense; use tiny pieces and count them with every other extra rather than building a meal around organ treats.
Chicken hearts are poultry giblets, so the 165°F poultry rule applies directly. A whole heart can remain moist in the center after the outside looks done. Butterfly or slice thick hearts to a consistent size, verify the representative piece, then cut open the thickest cooled finished piece before packaging the load.
Boneless fish and plain pumpkin
Start fish with an identified boneless fillet and inspect it under good light with clean fingers or tweezers for pin bones. Choose a preparation that allows uniform pieces, then use the same heat-first and cold-storage plan as other animal ingredients. High-fat fish can develop off odors sooner than a lean product, so small frozen batches are easier to manage than a jar left on the counter.
For pumpkin, use only plain cooked flesh or plain puree—not pie filling. Spread puree in a consistently thin layer on a liner approved for the appliance, or cut cooked flesh evenly. Pumpkin is an optional treat ingredient, not a remedy for diarrhea or constipation; persistent digestive signs need veterinary assessment.
Prepare the Kitchen Before Raw Food Comes Out
Set up the clean side and the raw side before opening meat or fish. Remove unrelated food, wash hands with soap and running water, and use clean tools. Keep the dog out of the kitchen work zone so paws, noses, bowls, toys, and fur never meet raw ingredients or cooling trays.
- Thaw animal ingredients in the refrigerator, not on the counter.
- Use a dedicated or freshly cleaned board and knife for raw food.
- Keep vegetables and cooked finished pieces away from raw drips and utensils.
- Do not reuse a raw-food marinade or turn it into a sauce. Plain treats do not need marinade.
- Wash hands and clean food-contact surfaces immediately after raw preparation.
- Use clean tongs or gloves for the cooked-to-dehydrator transfer.
Process animal and plant ingredients as separate batches unless the appliance instructions and your sanitation plan clearly prevent cross-contamination. A mixed tray also makes the endpoint harder to judge because pumpkin, liver, fish, and chicken do not lose moisture at the same rate.
Cut for Even Drying
Uniform thickness matters more than perfectly matching shapes. A tray of wafer-thin edges and thick centers creates two bad choices: stop when the thin pieces look done and leave a moist center, or keep drying until everything is excessively hard.
Trim obvious excess fat where appropriate because fat does not dry like lean tissue and can shorten quality. Arrange pieces in one layer without touching or folding. Leave airflow around them, do not cover ventilation, and use only tray liners approved by the appliance maker. Rotate trays only when the manual calls for it.
Never combine “similar looking” ingredients under one finish time. Record the ingredient, cut thickness, heat-step reading, tray load, appliance setting, start time, room conditions, and cooled result for each batch. The notes help you repeat a good batch; they do not replace the temperature and doneness checks next time.
How to Tell Dehydrator Dog Treats Are Dry
Warm pieces feel softer and can release moisture differently from cooled pieces. Remove a representative piece from the thickest area, let it cool completely, and test it before ending the batch. When uncertain, keep drying and test a new piece rather than packaging the load warm.
- Chicken strips: the center is dry, not cool-wet; a strip bends and begins to crack without squeezing moisture or exposing a soft raw-looking pocket.
- Liver: leathery and brittle are both possible finishes, but a cut center should match the intended dry texture rather than feel tacky or damp.
- Heart pieces: the thickest piece is firm and dry through the middle; no rounded center remains soft or spongy.
- Fish pieces: the center is dry, firm or flaky, and opaque, with no moist translucent pocket and no remaining bone.
- Pumpkin: the piece or sheet is evenly leathery or crisp, depending on the design, with no glossy, sticky, or wet area.
Watch for case hardening: a dry firm surface can trap moisture inside when the heat is too high or pieces are too thick. Cutting the thickest cooled piece is more informative than pressing the outside. A clock cannot prove dryness, and dryness cannot retroactively prove that the heat gate was met.

Storage: Home-Dehydrated Is Not Automatically Shelf-Stable
A home batch has not been validated like a commercial shelf-life study. Ingredient fat, slice thickness, final moisture, equipment accuracy, humidity, handling, packaging, and storage all change how long it stays acceptable. That is why this guide does not promise one pantry life.
Cool every piece completely before packaging; warm food can create condensation. Divide the batch into small portions, label each with the ingredient and preparation date, and use a clean dry airtight container. Keep only a short working portion in the refrigerator and freeze the rest for longer storage. Thaw a small portion in the refrigerator, not on the counter, and avoid repeated freeze-thaw cycles.
Discard the batch for visible mold, condensation, unexpected tackiness, insect activity, package damage, a rancid or unusual odor, color or texture change that is not normal for the recipe, or any uncertainty about the heat step. Do not trim mold from one piece and feed the rest. Never taste a dog treat to decide whether it is safe.
Portion and Ingredient Guardrails
Drying removes water, so a small dried piece can represent more original food than its size suggests. Start with one tiny piece from one new ingredient and watch for vomiting, diarrhea, itching, appetite change, or another unusual response. Dogs with pancreatitis history, kidney disease, diabetes, food allergy, prescription diets, or another nutrition-sensitive condition need veterinary approval before a DIY batch.
The World Small Animal Veterinary Association's dog-treat guide recommends keeping all treats and extras below 10% of daily calories so complete and balanced food supplies at least 90%. Ten percent is a ceiling, not a target for dehydrated food. Liver, hearts, fish, jerky, vegetables, dental chews, table bites, and training rewards all share it.
Keep recipes plain. Skip onion, garlic, salt, sugar, xylitol, butter, oil, smoke flavor, sauces, spice blends, and sweetened puree. Do not add supplements to a batch unless the veterinarian formulated the exact recipe and amount for that dog.
When a Commercial Jerky Treat Is the Easier Choice
Home dehydration can be satisfying, but it requires raw-food controls, a verified heat step, careful drying, cleanup, and conservative storage every time. A labeled commercial treat can be easier when repeatability, portability, or a known ingredient panel matters more than DIY.
Our complete guide to jerky treats for dogs explains how to compare ingredients, texture, portioning, labels, and storage across products. For a chicken-tolerant dog, American Paws offers single-ingredient whole-cut chicken breast jerky. American Paws heats whole-cut chicken breast to an internal 165°F before drying, then dries the strips at 130–140°F for six hours or more to roughly 5% moisture, and the product page lists approximately 15 kcal per treat. Those numbers describe this process, not every dehydrated treat on the market.
Compare current sizes in the American Paws chicken-jerky collection, or browse all current American Paws dog treats by actual ingredient list and format. Commercial does not mean unlimited; portion every treat inside the same daily extras budget.
Frequently Asked Questions
Can I put raw chicken directly in a dehydrator?
Do not rely on low-temperature drying alone. Heat the chicken to 165°F internally, verify a representative thick piece with a food thermometer, then transfer it with clean utensils to clean dehydrator trays. Follow the appliance instructions and complete a cooled doneness test.
What temperature should I use for dehydrator dog treats?
Separate the food's internal heat gate from the dehydrator's air setting. This guide uses 165°F internally for every animal-based batch as a conservative home rule. After that gate, use the appliance maker's appropriate meat or produce setting and never assume the dial equals the center of the food.
How long do dehydrator dog treats take?
There is no universal time. Ingredient, thickness, fat, pretreatment, tray load, airflow, appliance accuracy, room humidity, and desired finish all matter. Record the batch, start checking cooled test pieces as the recipe directs, and let doneness—not a promised hour count—decide.
How do I know homemade dog treats are dry enough?
Cool and cut the thickest representative piece. It should be dry through the center with no wet, tacky, cool, translucent, or spongy pocket. The exact bend or brittleness varies by ingredient, so use the ingredient cues above and watch for case hardening.
Do dehydrator dog treats need refrigeration?
Use refrigeration or freezing as the conservative default for home meat, organ, and fish batches because the recipe has not undergone a commercial shelf-life validation. Cool fully, package in small dated portions, keep containers dry, and discard anything abnormal or uncertain.
Can I dehydrate several ingredients on one tray?
Separate batches are easier to heat, dry, test, and trace correctly. Different ingredients release moisture and finish at different rates, and raw animal food can contaminate plant food. If the loads cannot share one verified heat and sanitation plan, do not combine them.
Use a Verified Heat Gate and a Conservative Storage Plan
Good dehydrator dog treats begin before the appliance starts. Pick one plain ingredient, control raw-food contact, cut evenly, verify the 165°F heat gate for animal foods, dry in a clean single layer, and judge the thickest piece only after it cools.
Then treat storage as part of the recipe: cool completely, date the batch, refrigerate a small working portion, freeze the rest, and discard anything questionable. If that process is more than you want for a repeatable reward, choose a clearly labeled commercial treat and verify the exact ingredients, format, and portion for your dog.