
How long to dehydrate chicken jerky for dogs? There is no safe universal hour count. USDA home-jerky guidance says to heat poultry to 165°F before dehydration, then keep the dehydrator at 130–140°F and dry until a cooled test strip cracks but does not break. The same guidance gives a broad 10–24-hour range for samples not heated in marinade, while the National Center for Home Food Preservation says to begin checking after about three hours. Thickness, tray load, airflow, room humidity, and the machine decide the actual finish.
At American Paws, chicken is preheated to 165°F before drying. Chicken breast strips then dry at 130–140°F for 6+ hours, with time varying by batch. Finished moisture is typically around 5%; a label may state a 12% maximum, which is a limit rather than the typical result. Those are first-party commercial process facts, not a six-hour guarantee or a home shelf-stability test.
Use three separate gates: temperature for the safety step, time for a checking schedule, and texture plus center inspection for doneness. This guide owns that timing decision. For the ingredient list, equipment, raw-poultry handling, oven route, and complete start-to-finish method, use our full homemade chicken jerky guide.
How Long to Dehydrate Chicken Jerky for Dogs: The Practical Answer
The most honest answer is “several hours, followed by checks until every representative piece is dry.” A clock can tell you when to look; it cannot tell you that poultry reached a safe internal temperature or that the thickest center is free of moisture.
| Gate | What to measure | What passes | What does not prove it |
|---|---|---|---|
| Safety before drying | Internal temperature in several representative strips | Poultry reaches 165°F before dehydration | Color, surface browning, or dehydrator dial |
| Drying environment | Stable dehydrator temperature and airflow | Constant 130–140°F during drying | A preset button that has not been checked |
| Doneness | A cooled thick strip from each tray | It cracks but does not break when bent; center has dry fibers and no wet, sticky, or spongy area | A recipe's promised hour count |
The USDA FSIS home jerky instructions supply all three principles: measure 165°F in poultry before drying, maintain 130–140°F, and use the crack-but-does-not-break endpoint. Its 10–24-hour figure is deliberately broad and applies to jerky samples not heated in marinade. It is a planning range, not an instruction to leave every chicken batch running for 10 hours or to stop automatically at 24.
The National Center for Home Food Preservation says to begin checking samples after three hours. “Begin checking” does not mean “finished at three hours.” Thin, preheated pieces in a lightly loaded, efficient machine can reach the doneness check earlier than thick pieces in a humid room or crowded appliance.

Time Is Not the Safety Step: Reach 165°F Before Drying
A food dehydrator removes moisture with low heat and moving air. That is not the same job as rapidly bringing raw poultry to a pathogen-killing temperature. USDA explains that evaporating moisture absorbs much of the heat in a low-temperature dehydrator or warm oven. Raw poultry can begin drying before it reaches 165°F, and bacteria that survive can become more heat resistant as the surface dries.
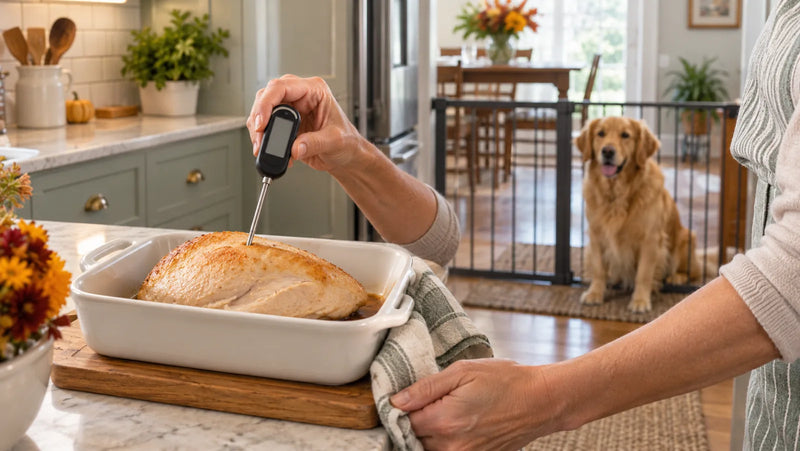
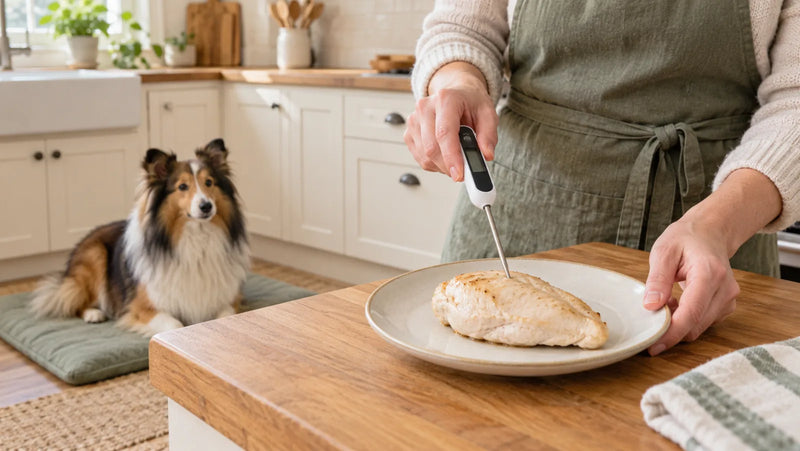
For home chicken jerky, steam or roast the plain strips until several representative thick pieces measure 165°F with a food thermometer, then move them to the preheated dehydrator. Probe the food, not just the air. A dial set to 165°F does not demonstrate that thin strip centers reached that temperature quickly or evenly.
Do not place raw chicken directly into a 130–140°F dehydrator and hope a longer clock will compensate. The sequence matters: the moist-heat kill step comes first; controlled dehydration comes second. Keep raw poultry cold before preparation, separate it from cooked strips, use clean utensils and racks, and sanitize anything that touched the raw chicken.
This timing article does not recreate a complete recipe because that broader search intent already belongs to our safety-first homemade chicken jerky method. Use it for slicing, equipment, the oven option, plain-ingredient guardrails, and the full workflow.
How Thickness Changes Chicken Jerky Drying Time
Uniformity matters more than choosing a magic thickness. A tray of identical strips gives airflow a repeatable job. A tray that mixes paper-thin edges with thick wedges produces two different drying schedules: the thinnest pieces may snap while the thickest centers remain damp.
NCHFP says jerky strips should be no thicker than 1/4 inch. Within that limit, use the following as a check order, not fabricated hour guarantees:
| Approximate raw thickness | Relative check lane | Likely issue | Response |
|---|---|---|---|
| 1/8 inch or thinner | Earliest | Edges can become brittle before other pieces finish | Check first and remove only cooled pieces that pass |
| Around 3/16 inch | Middle | Mixed knife cuts can hide a thicker center | Measure representative strips and sample every tray |
| Up to 1/4 inch | Latest | Outside can look dry while the center stays soft | Cool, bend, and inspect the thickest cross-section |
| Thicker than 1/4 inch | Outside this method | Uneven drying and an unreliable center | Do not use; reslice uniformly before the heat step |
Cutting with the grain usually creates a chewier strip; cutting across the grain usually makes a more tender or brittle piece. That texture choice can change how the bend test feels, but it does not change the 165°F safety gate. Choose a finished texture and piece size your dog can handle under direct supervision.
Measure a sample of strips instead of trusting the first slice. If a breast tapers, separate the thin end pieces from the thick center pieces or put them on different trays so they can finish on different schedules.
Six Variables That Move the Drying Clock
- Strip thickness and uniformity. Water has farther to travel from a thick center. Mixed thickness makes the batch finish in waves.
- Tray load. Crowded, touching, or overlapping strips block moving air. More pounds also add more moisture for the appliance to remove.
- Airflow and tray position. Fan design, tray spacing, and appliance geometry can make one level finish before another. Rotate only as the manufacturer directs.
- Room humidity. Dry air can accept moisture more readily than humid air. A rainy-day batch may not match a dry-day batch.
- Temperature accuracy. A dial is a target, not proof. Use equipment suitable for jerky and verify operation according to its instructions.
- Door opening and starting conditions. Repeated checks release heat and alter the schedule. A heavy load or delay between the 165°F step and the dehydrator can also change the early part of the cycle.
The chicken itself varies too. Shape, water content, trimming, and contact with the rack change the path that moisture takes. That is why “my last batch took six hours” is a useful note, not a permanent setting.
A Better Checking Schedule Than “Set It for Six Hours”
Turn the batch into a small controlled process. Record enough detail to explain the result the next time:
- date, room conditions, and dehydrator model;
- approximate strip thickness and whether pieces were separated by thickness;
- number of trays and how full they were;
- confirmation that several strips reached 165°F before drying;
- drying set point and any verification used;
- start time, first check, later checks, and finish time by tray; and
- cooled bend-test and center-inspection result.
At the three-hour authority-supported checkpoint, inspect rather than declare. Look for pieces that are beginning to darken and shrink, confirm airflow is not blocked, and follow the appliance maker's tray instructions. Avoid opening the machine every few minutes.
At later checks, take one of the thicker pieces from each tray and let it cool before bending. If a thin group passes first, remove it to a clean cooling rack and continue the thick group. Record separate finish times. Do not package any piece merely because another tray is done.
American Paws chicken breast strips run for 6+ hours after their 165°F preheat and at 130–140°F drying temperature. That first-party figure helps show the scale of the process, but “6+” means six hours or longer and varies by batch. It does not override your equipment, thickness, or endpoint checks.
How to Tell When Chicken Jerky Is Done
Warm jerky feels softer than cool jerky, so the test begins with a short cooling period. Choose a thick representative piece from each tray, place it on a clean rack, and wait until it is no longer warm.
- Bend slowly. The strip should crack along the surface and fibers but not snap cleanly like a dry twig.
- Inspect the center. It should show dry fibers without a cool, wet, sticky, glossy, or spongy core.
- Compare locations. Test pieces from different trays and from the center and edge of the appliance.
- Separate outliers. Keep any thicker or softer pieces drying; do not let the driest strip certify the whole batch.
Color is not a safety meter. A browned edge can surround a moist center, while a safely preheated strip may remain relatively pale. Surface hardness is also incomplete evidence. The decisive home check combines the prior 165°F measurement, controlled drying conditions, and a cooled, dry center.
A bend test is not a laboratory water-activity or moisture measurement. Commercial processors can use validated procedures, instruments, records, and specifications. American Paws' typical finished moisture of about 5% is a first-party process result; it is not a target that a home cook should guess from color or texture, and the 12% maximum that may appear on a label is not the same as a typical result.
Doneness Troubleshooting
The edges are hard but the center is soft
The strip may be too thick, the temperature may be too high for even moisture removal, or airflow may be inadequate. Do not package it. Keep it separate, confirm the appliance is operating as directed, and continue drying while checking the center. If pieces exceed 1/4 inch or the exterior is scorched, do not try to turn an unsuitable cut into a shelf-stable treat by guesswork.
The strip snaps instead of cracking
It may be over-dried for a flexible jerky texture. Brittleness alone does not prove a food-safety failure, but it changes how the treat breaks and may create sharp or crumbly pieces. Discard anything scorched or off-smelling. For an otherwise plain, properly handled batch, select a supervised piece size and texture appropriate for the dog rather than handing over a large brittle shard.
The surface looks greasy or damp
Visible fat can shorten quality life, while a damp or sticky surface suggests more drying is needed. Blotting surface oil does not make a wet center shelf stable. Trim visible fat before processing, and never seal warm or damp strips.
One tray finishes before another
That is a batch-management problem, not a reason to average the trays. Remove only cooled pieces that pass, continue the remaining trays, and adjust positions only if the appliance instructions call for it. Next time, group pieces by thickness and note which tray location ran fastest.
Cooling and Storing Homemade Chicken Jerky
Move finished strips to a clean rack and cool them completely before sealing. Warm food in a closed container can create condensation and add moisture back to the jerky. If droplets appear, do not assume the batch is shelf stable.
NCHFP states that properly dried jerky will keep at room temperature for two weeks in a sealed container and recommends refrigeration or freezing for longer shelf life and best quality. Because home thickness, heat control, and final dryness vary, use a conservative dog-treat routine:
- date the batch and keep the working portion refrigerated in a clean, dry, airtight container;
- freeze extra portions and thaw a small amount in the refrigerator;
- keep wet hands, scoops, crumbs, and dog saliva out of the main container;
- do not mix a fresh batch into an older container; and
- discard jerky with condensation, mold, a rancid or off odor, slime, insect activity, damaged packaging, or unexpected softening.
When storage is the main question, use our dedicated chicken jerky storage guide. Package directions control for a purchased product; a homemade batch does not inherit a commercial shelf life.
Homemade Timing vs a Ready-Made Batch
DIY offers control over the cut and a clear plain ingredient, but it also makes the home cook responsible for raw-poultry sanitation, the 165°F preheat, uniform thickness, calibrated drying conditions, multiple endpoint checks, cooling, and conservative storage. A ready-made bag trades that hands-on control for a repeatable process and labeled instructions.
American Paws whole-cut chicken breast jerky lists 100% USA chicken breast as its single ingredient. It can be cut or broken into a planned supervised portion. That does not mean commercial jerky is right for every dog: a dog avoiding chicken, following a prescription diet, or struggling with chewing or swallowing needs an appropriate alternative and veterinary guidance.
Compare available formats in the American Paws chicken jerky collection. For the category-wide decision—types, label reading, portions, life stages, and storage—use the complete chicken jerky guide for dogs. Our separate chicken jerky safety guide owns ready-made sourcing and label checks.
Frequently Asked Questions
How many hours does chicken jerky take in a dehydrator?
Plan for several hours and a series of checks, not one promised duration. USDA gives a broad 10–24-hour range for samples not heated in marinade, and NCHFP says to start checking after three hours. American Paws' preheated chicken breast strips run 6+ hours at 130–140°F, but home time varies with thickness, load, airflow, humidity, and equipment.
What temperature should I use to dehydrate chicken jerky for dogs?
First heat the poultry itself to 165°F, measured in several representative strips. Then USDA recommends a dehydrator that maintains a constant 130–140°F during drying. Do not confuse the food's preheat temperature with the later drying-air range.
Can I put raw chicken straight into the dehydrator?
No. USDA recommends steaming or roasting poultry to 165°F before dehydration. Low dry heat may remove moisture before it destroys pathogens, and a dehydrator dial cannot prove several strip centers reached 165°F.
How thin should chicken be sliced for jerky?
NCHFP says no thicker than 1/4 inch. Uniform strips are easier to manage than a mixture of thin tips and thick centers. Group different thicknesses so they can finish on separate schedules.
Can chicken jerky be over-dehydrated?
Yes, in the sense that it can become brittle, crumbly, or scorched instead of flexible. A strip that snaps is not the target crack-without-breaking texture. Discard scorched food and choose a supervised finished texture that fits the dog's chewing ability.
Why is one tray done before another?
Airflow, fan position, tray loading, thickness, and appliance design can create different drying rates. Test a cooled thick piece from every tray, remove only pieces that pass, and rotate trays only as the manufacturer directs.
Does homemade chicken jerky need refrigeration?
Refrigeration is the conservative choice for a working dog-treat batch, with extras frozen. NCHFP allows up to two weeks at room temperature for properly dried jerky in a sealed container, but home dryness varies. Cool completely, date the batch, and discard moisture, mold, slime, off odor, or unexpected softness.
Use the Clock to Check—Not to Declare the Batch Done
The safe sequence is easy to remember: heat several chicken strips to 165°F before drying, maintain 130–140°F with airflow, start checks rather than assumptions, and finish only when cooled representative pieces crack without breaking and show dry centers. Record thickness and tray finish times so the next batch begins with evidence instead of folklore.
Use our complete homemade chicken jerky recipe and safety guide for the full process. If you prefer a ready-to-serve option, compare single-ingredient whole-cut chicken breast jerky and the full chicken jerky collection. You can also browse all American Paws dog treats for another texture that better suits your dog.