
You can make homemade chicken jerky for dogs with plain, boneless chicken breast, an accurate food thermometer, and either an adjustable dehydrator or a low oven. The safety-critical step is to heat several strips to 165°F before drying; time, color, and a dehydrator dial alone cannot prove raw poultry is safe.
DIY jerky can be a satisfying way to control the ingredient and cut. It also asks you to control raw-poultry handling, strip thickness, the 165°F kill step, hours of airflow, final dryness, cooling, and storage. This guide treats those jobs honestly, then compares them with the consistency and convenience of a ready-made option without pretending either route is right for every household.
Homemade chicken jerky for dogs: the safety-first method
The recipe is simple, but it is not just “slice and wait.” The USDA Food Safety and Inspection Service guidance for home jerky says poultry should reach 165°F before dehydration. It also says to check several strips with a food thermometer, then dry at a constant 130–140°F until a test piece cracks but does not break when bent.
Why separate heating from drying? Low dry heat can remove moisture before it destroys pathogens. USDA warns that bacteria may survive when raw meat or poultry goes straight into a warm oven or a 130–140°F dehydrator. An appliance set to 165°F does not prove the center of several strips reached 165°F soon enough. Measure the food, not just the air.
The full flow is:
- Keep raw chicken cold and prevent cross-contamination.
- Slice boneless, skinless breast evenly, no thicker than 1/4 inch.
- Use no marinade or seasoning for this dog-treat recipe.
- Roast the strips until several thick pieces measure 165°F.
- Move them to a controlled dehydrator or low oven and dry with airflow.
- Use a cooled bend test and inspect the center, not a clock alone.
- Cool completely, package dry, refrigerate the working batch, and freeze extra portions.
Ingredients and equipment
For the simplest version, the ingredient list contains one line:
- 1 pound plain, boneless, skinless chicken breast
Do not add oil, salt, curing salt, sugar, honey, smoke flavor, soy sauce, Worcestershire sauce, broth, garlic, onion, chives, or a seasoning blend. Many human jerky recipes use those ingredients for flavor or preservation, but this is a dog-treat method. The ASPCA's unsafe people-food guidance identifies onion, garlic, and chives as harmful to dogs and also warns about excessive salt.
You will need:
- a refrigerator and clean tray for keeping poultry cold;
- a sharp knife and a board reserved or thoroughly sanitized for raw meat;
- paper towels for drying equipment or blotting finished surface moisture, not for rinsing the chicken;
- a thin-tip, calibrated food thermometer that can check several narrow strips;
- a wire rack over a rimmed baking sheet for the 325°F heat step;
- an adjustable food dehydrator that holds 130–140°F, or an oven that can maintain a stable low drying temperature with safe airflow;
- clean racks or trays that keep strips separated; and
- small airtight containers plus refrigerator or freezer space.
Step 1: choose, chill, and slice the chicken
Start with fresh or properly thawed chicken breast. Thaw frozen poultry in the refrigerator, not on the counter. Keep it at 40°F or below until preparation. Do not wash it: USDA's chicken handling guidance explains that rinsing can spread bacteria to sinks, counters, utensils, and nearby food, while cooking is what destroys the bacteria.
Partially chill or freeze the breast only until firm enough to slice neatly, not rock solid. Trim visible fat and connective tissue. Fat slows even drying and can turn rancid sooner. With a sharp knife, cut long strips between 1/8 and 1/4 inch thick. The National Center for Home Food Preservation says jerky strips should be no thicker than 1/4 inch.
Uniformity matters more than making every piece pretty. One thick center can stay moist while thin edges harden. Slice with the grain for a chewier strip or across it for a more brittle result, but choose a finished size your dog can chew under supervision. Large finished pieces can always be cut into smaller portions after cooling.
Wash hands with soap and running water for at least 20 seconds before and after handling raw poultry. Clean and sanitize the knife, board, sink area, rack handles, thermometer stem, and anything else touched by raw chicken before those items contact cooked or dried strips.
Step 2: skip the marinade and heat every batch to 165°F
Arrange the plain strips in a single layer on a clean wire rack over a rimmed baking sheet. They should not touch or overlap. Preheat the oven to 325°F. Bake until the center of several of the thickest strips reaches 165°F on the food thermometer.
Do not assign a universal number of minutes to this step. Strip thickness, starting temperature, rack material, oven accuracy, and load size all change the time. Begin checking early enough to avoid overcooking, disinfect the thermometer between raw and cooked checks, and continue until several representative strips have actually reached 165°F.
Penn State Extension and USDA both recognize heating before drying as the safer sequence. Steam is another USDA-listed preheating option, but the rack-and-oven method is easier to keep plain and separate for this recipe. Whichever method you use, the thermometer result is the gate. A pale color is not failure, and a browned edge is not proof of safety.
Step 3A: make chicken jerky for dogs in a dehydrator
Preheat an adjustable dehydrator to 140°F, or use a verified setting within USDA's 130–140°F range. Immediately after the chicken reaches 165°F, place the strips on clean dehydrator trays in a single layer. Leave space around every strip so the fan can move air across all surfaces.
Keep the machine at a steady 130–140°F for the entire drying period. Rotate trays only if the manufacturer recommends it, and do not add a fresh raw batch above or beside partially dried food. Opening the machine repeatedly releases heat and changes the schedule.
USDA gives a broad 10–24-hour range for jerky pieces not heated in marinade, while the National Center for Home Food Preservation says to begin checking after about three hours because preheated, thin, and high-airflow batches can dry sooner. That range is deliberately wide. Strip thickness, water content, tray load, airflow, room humidity, and appliance calibration all matter.
Follow the dehydrator manufacturer's meat-drying instructions after preserving the separate 165°F poultry step. Never pull a batch simply because a recipe promised four, six, or eight hours. Start checking the thinnest strips first, remove pieces only when they pass the cooled doneness test, and keep thicker pieces drying.
Step 3B: make chicken jerky for dogs in an oven
An oven can work when it holds a low, stable temperature and provides airflow. After the strips reach 165°F at 325°F, transfer them to clean drying racks, reduce the oven to its lowest suitable drying setting, and verify the temperature near the food with an oven thermometer.
Penn State Extension's home-jerky guidance uses an oven at 170°F or higher with airflow and gives roughly five to six hours as a starting range. The National Center for Home Food Preservation describes drying around 140°F and notes that lower, slower batches may take 10–24 hours. Neither range replaces the cooled bend test.
Some preservation instructions improve airflow by holding an oven door slightly open. Do that only if the appliance manufacturer says the oven can be operated that way. Never improvise with a gas oven, disable a safety feature, place a loose fan where it can overheat, or leave the setup unattended. If the oven cannot safely maintain low heat with airflow, use a purpose-built dehydrator.
A high minimum oven temperature can cook or harden the outside before the center dries evenly. That may produce chicken chips, not jerky, and it can hide a softer center. Reduce thickness, use the correct equipment, or stop rather than trying to rescue an unsuitable batch with guesswork.

How to tell when chicken jerky is dry
Remove one representative strip and let it cool before testing; warm jerky feels softer than cool jerky. Bend it slowly. USDA's endpoint is a piece that cracks but does not break. It should show dry fibers inside, with no cool, wet, sticky, spongy, or glossy center.
Test a thick strip from each tray, not only the thinnest piece nearest the fan. If pieces differ substantially, finish them in groups. Do not use surface browning, a hard edge, or a set number of hours as the sole endpoint.
A home bend test is not a laboratory water-activity measurement. Commercial processors can validate moisture control with standardized equipment and production records; most home kitchens cannot. That is why this guide takes a conservative approach to cooling and storage even after a batch looks properly dry. If you want to compare a home batch with a commercial product, our chicken jerky for dogs guide explains what to look for on a label.
Cooling and storing homemade chicken jerky
Move finished strips to a clean rack and cool them completely before closing a container. Warm jerky can create condensation inside a bag or jar, adding moisture back to a product you just spent hours drying. If condensation appears, do not treat the batch as shelf stable.
The National Center for Home Food Preservation's jerky guidance gives properly dried home jerky up to two weeks at room temperature in a sealed container and recommends refrigeration or freezing for better shelf life, flavor, and quality. USDA gives a broader one-to-two-month figure for home-dried jerky, but home thickness, heat control, and final dryness vary.
For dog treats, use the more conservative routine:
- date the batch;
- refrigerate the small working portion in a clean, dry, airtight container;
- freeze portions you will not use within two weeks;
- thaw a small portion in the refrigerator, not on the counter;
- keep wet hands and dog saliva out of the main container; and
- never mix a new batch into old crumbs.
Discard jerky with condensation, mold, off or rancid odor, sliminess, unexpected softness, color change, insect activity, or a damaged container. When uncertain, throw it away. For general product-handling habits that also apply to ready-made strips, use our chicken jerky storage guide.
How much homemade chicken jerky can a dog have?
There is no universal strip count. Dehydration removes water and concentrates a large amount of chicken into a light piece. USDA notes that about one pound of meat or poultry may yield roughly four ounces of jerky, so a dry handful represents far more fresh chicken than its weight suggests.
Keep homemade jerky within the dog's full treat-calorie budget, together with training rewards, chews, toppers, pill food, and table extras. Treats should remain supplemental rather than displacing complete and balanced food. Because homemade pieces have no printed calorie statement, use the raw ingredient nutrition, the finished batch weight, and your veterinarian's guidance to estimate portions rather than copying a commercial piece count.
Start with a small piece, supervise chewing, and size it for the dog's mouth and chewing style. Dogs that gulp, dogs with dental problems, puppies, seniors, and dogs on prescription or calorie-restricted diets may need a different texture or a veterinary feeding plan. Our daily dog-treat calorie budget explains how to count all extras together.
Homemade vs store-bought chicken jerky
This comparison is not a contest between caring and convenience. A careful home cook can make a plain, useful treat. A well-labeled commercial product can save time and deliver repeatable strips. The better option is the one whose safety steps, ingredient, portion, and storage you can manage consistently.
| Decision point | Homemade chicken jerky | Ready-made chicken jerky |
|---|---|---|
| Ingredient control | You buy and handle the exact chicken | You verify the product's printed ingredient panel |
| Thickness and texture | You choose the cut, with some batch variation | Process and product specs are more repeatable |
| Food-safety work | You control raw handling, 165°F verification, drying, cooling, and storage | The producer controls manufacturing; you control package inspection, storage, and serving |
| Time | Preparation plus several to many drying hours | Ready to portion when opened |
| Storage guidance | You date the batch and use conservative refrigeration/freezing | You follow the labeled best-by and after-opening directions |
| Cost | Raw chicken, electricity, equipment, shrinkage, and your time | Purchase price includes processing, packaging, and convenience |
Where DIY is strongest
DIY offers direct control over the cut and intended recipe. You can choose chicken breast, keep the treat completely plain, make a small batch, and tailor finished piece size to your dog. It can also be satisfying to understand every step from fresh meat to dry reward.
That control is real only when the process is measured. A thermometer, calibrated equipment, sanitation, uniform thickness, doneness checks, and careful storage are part of the recipe, not optional accessories.
Where store-bought is strongest
A ready-made product saves preparation and drying time. A consistent product process can make thickness, dryness, package information, and serving guidance more repeatable from bag to bag. It also lets a household buy a smaller usable quantity without running an appliance for a full batch.
Store-bought does not automatically mean single ingredient, appropriate for every dog, or immune to storage mistakes. Read the panel, inspect the seal, retain the lot and best-by information, and follow the after-opening directions. Our guide to choosing safe chicken jerky for dogs covers those buyer checks.
Which option fits which household?
Choose DIY when you enjoy food preparation, own suitable equipment, can verify 165°F in thin strips, have time to monitor the drying cycle, and will refrigerate or freeze portions carefully. Choose ready-made when you value a repeatable product, labeled instructions, a predictable bag size, and time saved.
Many households can use both: a supervised small DIY batch as an occasional project and a ready-made bag for routine training or travel. The chicken source still has to fit the dog's diet, and neither option belongs in a prescription or elimination diet without veterinary approval.
A verified store-bought option from American Paws
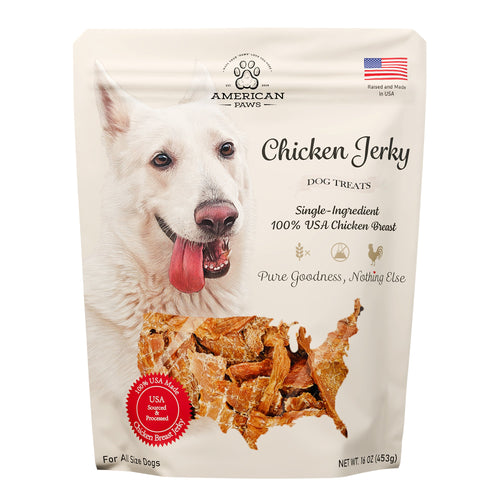
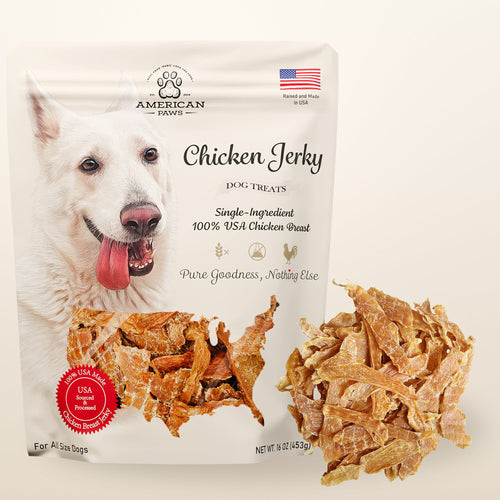
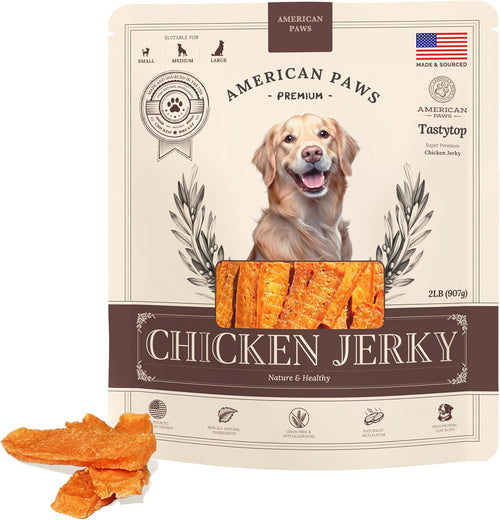
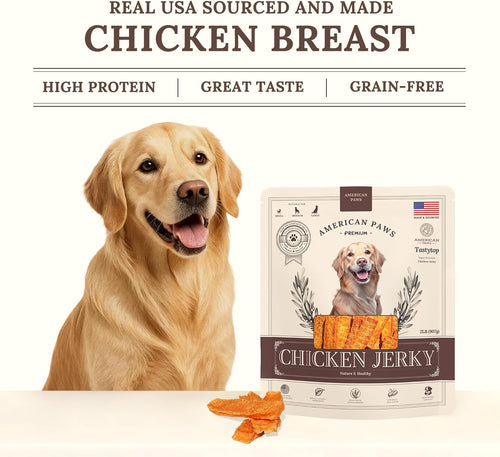
American Paws single-ingredient whole-cut chicken breast jerky lists 100% USA chicken breast and nothing else. It is made in small USA batches, comes in whole-cut strips, and includes labeled feeding and after-opening storage guidance. You can cut or break a planned portion into smaller supervised rewards.
That product is useful when you want the same one-ingredient idea without doing the heat, airflow, cooling, and packaging work at home. It is not presented as a reason to distrust careful DIY, and it is not suitable for a dog that should avoid chicken.
For available sizes and chicken-treat formats, browse the American Paws chicken jerky collection. For the broader quality framework behind the category, read our chicken jerky benefits and quality guide.
Common homemade chicken jerky mistakes
- Putting raw chicken straight into a dehydrator: 130–140°F dry heat may not destroy pathogens before the strip dries.
- Trusting the appliance dial: the air setting does not prove several strips reached 165°F.
- Rinsing raw poultry: splashes can spread contamination around the kitchen.
- Cutting mixed thicknesses: thin edges can harden while thick centers stay moist.
- Using a human jerky marinade: garlic, onion, excess salt, sauces, and seasoning blends do not belong in this plain dog-treat recipe.
- Overlapping strips: blocked airflow creates uneven drying.
- Following a clock alone: humidity, load, airflow, and thickness change drying time.
- Testing jerky while hot: let a piece cool before the crack-but-does-not-break bend test.
- Packaging before cooling: trapped warmth can create condensation.
- Assuming homemade means unlimited: dried chicken is concentrated food and still counts as treats.
Frequently asked questions
Can I put raw chicken straight into a dehydrator?
No. USDA recommends heating poultry to 165°F before dehydration and checking several strips with a food thermometer. A dehydrator's low dry heat may not destroy pathogens before the surface loses moisture.
How long does chicken jerky take in a dehydrator?
Plan for a range, not a promise. USDA says pieces not heated in marinade may take 10–24 hours at 130–140°F, while preservation guidance says to begin checking thin, preheated pieces after about three hours. Thickness, load, airflow, humidity, and the machine all matter. Finish by the cooled bend test and a dry center, not the clock.
What oven temperature should I use?
First use a 325°F oven until several chicken strips reach 165°F. For drying, Penn State describes a 170°F-or-higher oven with airflow and roughly five to six hours as a starting range. Verify the temperature near the strips, follow the appliance manufacturer's airflow instructions, and use doneness checks rather than time alone.
Can I add salt, garlic, onion, or soy sauce?
Not in this dog-treat recipe. Keep it to plain chicken breast. Garlic and onion can harm dogs, excessive salt is unnecessary, and sauces can contain additional sodium, sweeteners, Alliums, or other ingredients that complicate the label.
Does homemade chicken jerky need refrigeration?
Refrigeration is the conservative choice for the working batch, with extra portions frozen. The National Center for Home Food Preservation allows up to two weeks at room temperature for properly dried jerky in a sealed container, but home thickness and dryness vary. Date every batch and discard any moisture, mold, off odor, sliminess, or unexpected softness.
Choose control, convenience, or a little of both
Good homemade chicken jerky is not difficult because it has many ingredients; it is demanding because one ingredient still requires careful handling. Keep the chicken cold, slice evenly, measure 165°F in several strips before drying, maintain controlled low heat and airflow, test the cooled center, and store the batch conservatively.
If you want the hands-on control and have the equipment, make a small plain batch and record what you did. If you want ready-to-serve consistency, choose American Paws whole-cut chicken breast jerky or compare the full chicken jerky collection. You can also browse all American Paws dog treats for another texture that better fits your dog. DIY and store-bought can both be thoughtful choices when the ingredient, safety process, portion, and storage are clear.